
With a User Image, each user uploads their own version of an image. For example, every trainer who issues a credential can add their own logo or signature to the same template.
When to use User Image:
- The signature of the trainer who issues the credential
- The logo of the issuing trainer
Prerequisites to setup a User Image for Users/ sub organisations
- Access to the Organisation Hub/ Trainer Module
- Administrator access (to set up the element)
Part 1: How to set up an User Image element?
- Go to Settings > Element Library.
- Click Create new element.
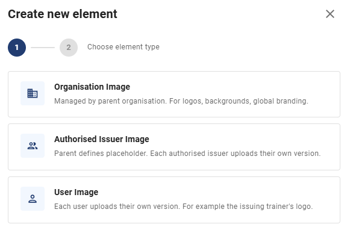
- In the pop-up, select User Image and click Next.
- Upload a placeholder image.
- Add a label and a description for the element.
Part 2: How to add User Image element on a credential design?
- Open the template in the Designer.
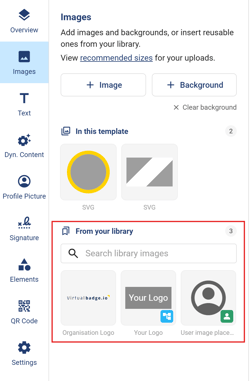
- Go to the Images tab.
- Lastly, select the image you want to add to the template, then place it where you want it in the design.
Note: If you later move or remove the element on the template, resync the template so the changes are applied for all users. [PLACEHOLDER: where and how to resync]
How do Users add the image?
When they log in to their account, they see a banner:

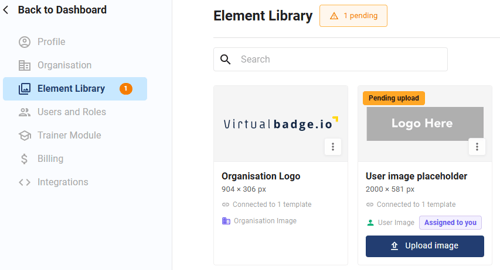
- Click Element Library in the banner, or go to Settings > Element Library.
- Find the element marked Pending upload and Assigned to you.
- Click Upload image and add your version.
Important: If the image is not uploaded, the certificate or badge is not generated when recipients are added.
What happens when you update the image?
To change an image that's already in use, update it in the Element Library (Settings). This is the recommended way: the new image syncs automatically to every template that uses the element.
Good to know: the update applies going forward. The new image appears on badges and certificates issued after the change, credentials already issued to recipients keep the image they were created with.