Zapier is an integrations software, which allows you to connect Virtualbadge.io to many other web services. Automated connections called Zaps, set up in minutes with no coding, can automate your day-to-day tasks and build workflows between apps that otherwise wouldn't be possible.
Here is the logic: Each Zap has one app as the Trigger ( from where the certificate information comes) and one or more Actions (in our case, the action would be creating and sending out certificates).
Many different apps can be the trigger for your automation. Some popular examples are:
- Send certificates from a new entry in Typeform
- Send certificates when a new line is added in Google Sheets
- Send certificate when recipient finishes course on Moodle
Zapier integrations are part of Growth and above plans.
Here are the steps to get started with your zap:
1- Log in to your Virtualbadge.io account and set your certificate to active.
Creating a digital certificate with Virtualbadge.io is really easy!
You can start a new certificate from scratch by clicking on “Create New” at any time. After that, you must complete 4 steps to set this certificate to “Active” and to be able to use it in your Zapier automation.
2- Set up your Zapier account.
This step is quite easy! Just go to https://zapier.com/sign-up and log in to your account (you can also create a new account for free).
Once you are logged in, select the "+ Create" button or navigate to the "Zaps" section and click on "+ Create" to create a new Zap.

3- Choose a Trigger!
The trigger is a very important part of the Zapier automation. It will collect information and automatically send it to Virtualbadge.io, where new certificates will be created and sent.
You can choose any app from Zapier's gallery to be your trigger.

An example for your trigger could be: Every time a new line is added to a Google Sheets file, a certificate must be created.
Here you check some of the most popular triggers used for Virtualbadge.io!
Remember! Your trigger must always collect the mandatory recipient information for the certificates (Recipient Name and Recipient's Email Address). In case you are using custom fields, they must also be mapped to existing fields from your trigger.
4- Choose Virtualbadge.io as an Action
Once you are done with creating your trigger, proceed to Action and search for Virtualbadge.io.
You will be asked to authenticate yourself with your Virtualbadge.io account, and once that is done, you will be able to choose the certificate that the new recipients should be added to.
Reminder: You can only choose between your active certificates. If you don't find the certificate that you wish, go back to your Virtualbadge.io account and make sure that it is set to active.

5- Map the recipient information from the Trigger to your digital certificate!
Now, you can easily map the information from your trigger app to your digital certificate.
Once this mapping is done, all new entries in your trigger app will be automatically mapped to the correct fields in the new certificates.
Remember: If you have added custom fields to your certificate, you will also have to map them to fields from your trigger at this point. In the example below, one custom field is being used, and it is called "Completion Date".
Pro tip: Zapier allows you to combine information from your trigger with your certificates.
For example: If you collect “First Name” and “Last Name” separately in your trigger app, but you would like to have “First Name” and “Last Name” appearing together in the “Recipient Name” of your certificates, you can simply select both those fields when mapping the recipient's name.

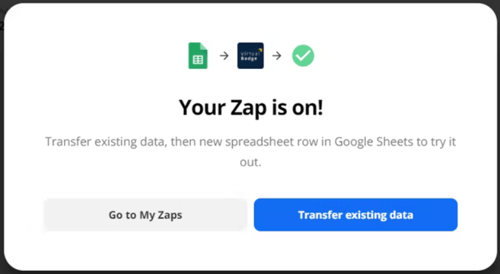
6- Save and test your Zap
Once you are done, remember to save and activate your Zap! Now, all new entries from your trigger will automatically add recipients to your digital certificates inside Virtualbadge.io
Need inspiration? Get some inspiration on what you can do with Zapier and Virtualbadge.io by checking some pre-made automation https://zapier.com/apps/virtualbadgeio/integrations
If you have any additional questions, you can reach out to contact@zapier.com.
Note: To connect and manage your integration with Zapier, navigate to Settings -> Integrations, and then locate Zapier under Third-Party Integrations, as shown below.
Troubleshooting Zapier
There are some things that you can do if you experience some of these common issues:
Zapier asks for your API
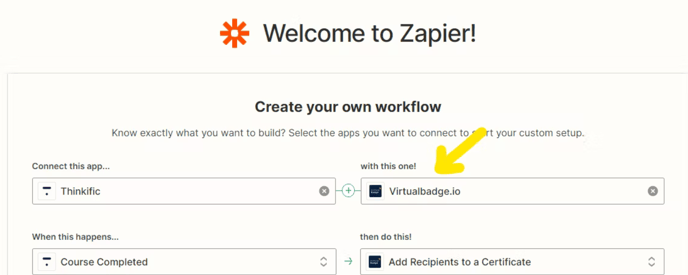
You don’t need your API to build automations using Zapier. If you see a page where your Virtualbadge.io’s API is requested, please check the company that you selected inside Zapier.
Our company is spelled “Virtualbadge.io” (not Virtual Badge). This is what the correct company name and logo should look like inside Zapier:
You don’t see your certificate?
The certificate that you will use inside Zapier must be set to “Active” inside Virtualbadge.io.
You can activate a certificate by going through all the steps in the navigation bar (you might also need to add the first recipient manually). Once all steps are marked green, you can activate your certificate from the tab “Overview”.
