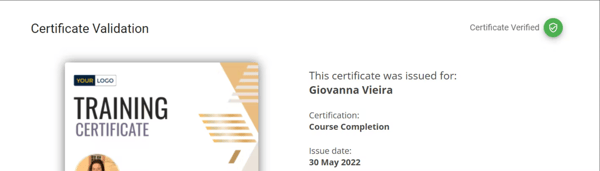
The Validation page ensures transparency and authenticity by displaying key certificate/ badge information.
What is a Validation Page?
A validation page contains all metadata related to a credential, including:
- Recipient’s Name
- Issuing Company
- Certificate or Course Name
- Issue and Expiry Date

Additionally, there is an “About this Certificate” section where issuers can provide more details about the course or certification.
🔗 View a live validation page example: https://www.virtualbadge.io/certificate-validator?credential=cer-f81ed1e4-9bbf-4f13-82a5-890b8ac9
How Does Validation Work?
Virtualbadge.io validates certificate information in the backend, ensuring security and authenticity. While your company is the official issuer, our technology ensures that each certificate follows strict validation standards.
- Validation pages are hosted on Virtualbadge.io.
- For a private label validation solution
Certificate Statuses
Valid Certificates
A valid certificate will display a green notification stating:
“Certificate Verified” – confirming that the certificate details match the database records.
Expired Certificates
If a certificate has expired, an error notification will appear. The certificate information remains verified, but it is no longer valid according to the issuer’s settings.

Revoked Certificates
Revoked certificates are no longer considered valid. They can be revoked directly from your dashboard under the “Recipients” tab.

Managing Validation Pages
Editing Certificate Information
Validation pages are generated automatically when a certificate is claimed. The metadata is pulled from the details entered during certificate creation.
To modify the “About this Certificate” section or update the website link:
- Navigate to Recipient Experience → Certificate Validation
- Click on the preview of the validation page to make changes.

Accessing Validation Pages
For Issuers (Admins)
- Go to the Recipients tab.
- Download the PDF version of a certificate.
- The PDF contains both a QR code and a direct link to the validation page.
For Recipients
- The validation page link is included in the certificate.
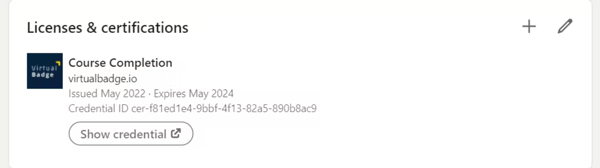
- If shared on LinkedIn, the link will be automatically embedded in the post.

- If added to the “Licenses and Certifications” section on LinkedIn, the link appears under “Show Credential”.
Adding a QR Code to Certificates
Default QR Code
- Use the Designer tool to add a QR code that directs users to the validation page when scanned.
Custom QR Code
- Customize the QR code to redirect users to any link of your choice.

This guide ensures a smooth certificate validation experience for both issuers and recipients while maintaining security and transparency. 🚀