Collections help you keep your dashboard organised, especially when you manage a large number of certificate and badge templates. Use them to group credentials by program, department, event, or any structure that works for your team. You can also create sub-collections within a collection for even more granular organisation.
Ways to Create a Collection
There are three ways to create a new collection:
A. From the Dashboard
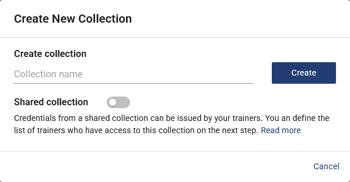
- On your dashboard, click the folder icon.

- A pop-up will appear — enter a collection name and click Create.
- To add credentials to this collection, simply drag and drop them into the folder. Alternatively, right-click or click the three dots on any certificate or badge, select Move Badge/Certificate, choose the target collection, and confirm.
B. From Within a Credential
- Open a credential and go to the Basic Details section.
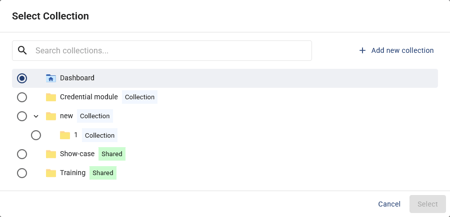
- Click "Select Collection".
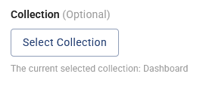
- In the pop-up, you can either create a new collection or move the credential to an existing one.
C. From the "Create New" Button
- Click the dropdown arrow next to the Create New button (yellow) on the dashboard.
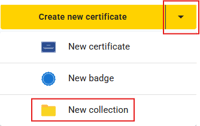
- Select the option to create a new collection, then follow the same steps as Method 1.
How to Create a Sub-Collection
Sub-collections let you add another level of organisation within an existing collection.
- Open a collection.
- Click the "
 " icon.
 - Follow the same steps as creating a regular collection, give it a name, and click Create.
Your sub-collection will now appear inside the parent collection, helping you maintain a clean and structured dashboard.