Once you've created your certificates and added recipients, you're ready to send them out. If your certificates are integrated into other workflows (such as Zapier or our API), they can be sent automatically without requiring you to log into Virtualbadge.io.
Sending Certificates/ Badges for the First Time
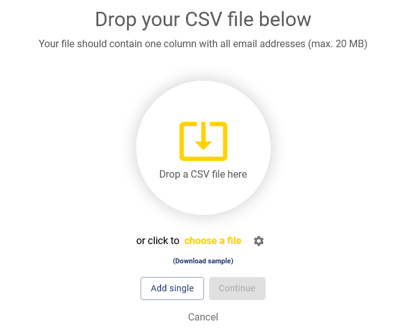
If you're sending a certificate for the first time or finalizing a draft, a pop-up will guide you through the process. Before sending, ensure that all required steps are completed—check the vertical navigation bar for any unfinished tasks. Once your recipients are added either via CSV or Single and then lastly send emails to all recipients.
Sending Certificates for Recurring Courses
For ongoing or repeated courses, you can add recipients to an already active certificate. This is useful if your course runs multiple times a year or if you forgot to include someone earlier.
Simply open the active certificate, add recipients (either individually or via a list), and click "Send all emails" in the top-right corner of the dashboard. Only newly added recipients will receive the email.
